Vegan and Gluten Free, these Healthy Snickers Bars will satisfy any sweet tooth! Made with only 6 plant based ingredients, they’re easy to make and good for you too.
Making your own candy bars is actually pretty dang easy. The best part? There’s no preservatives, artificial colors, or any questionable ingredients.
And who wouldn’t want a homemade Snickers Bar that is actually good for you…
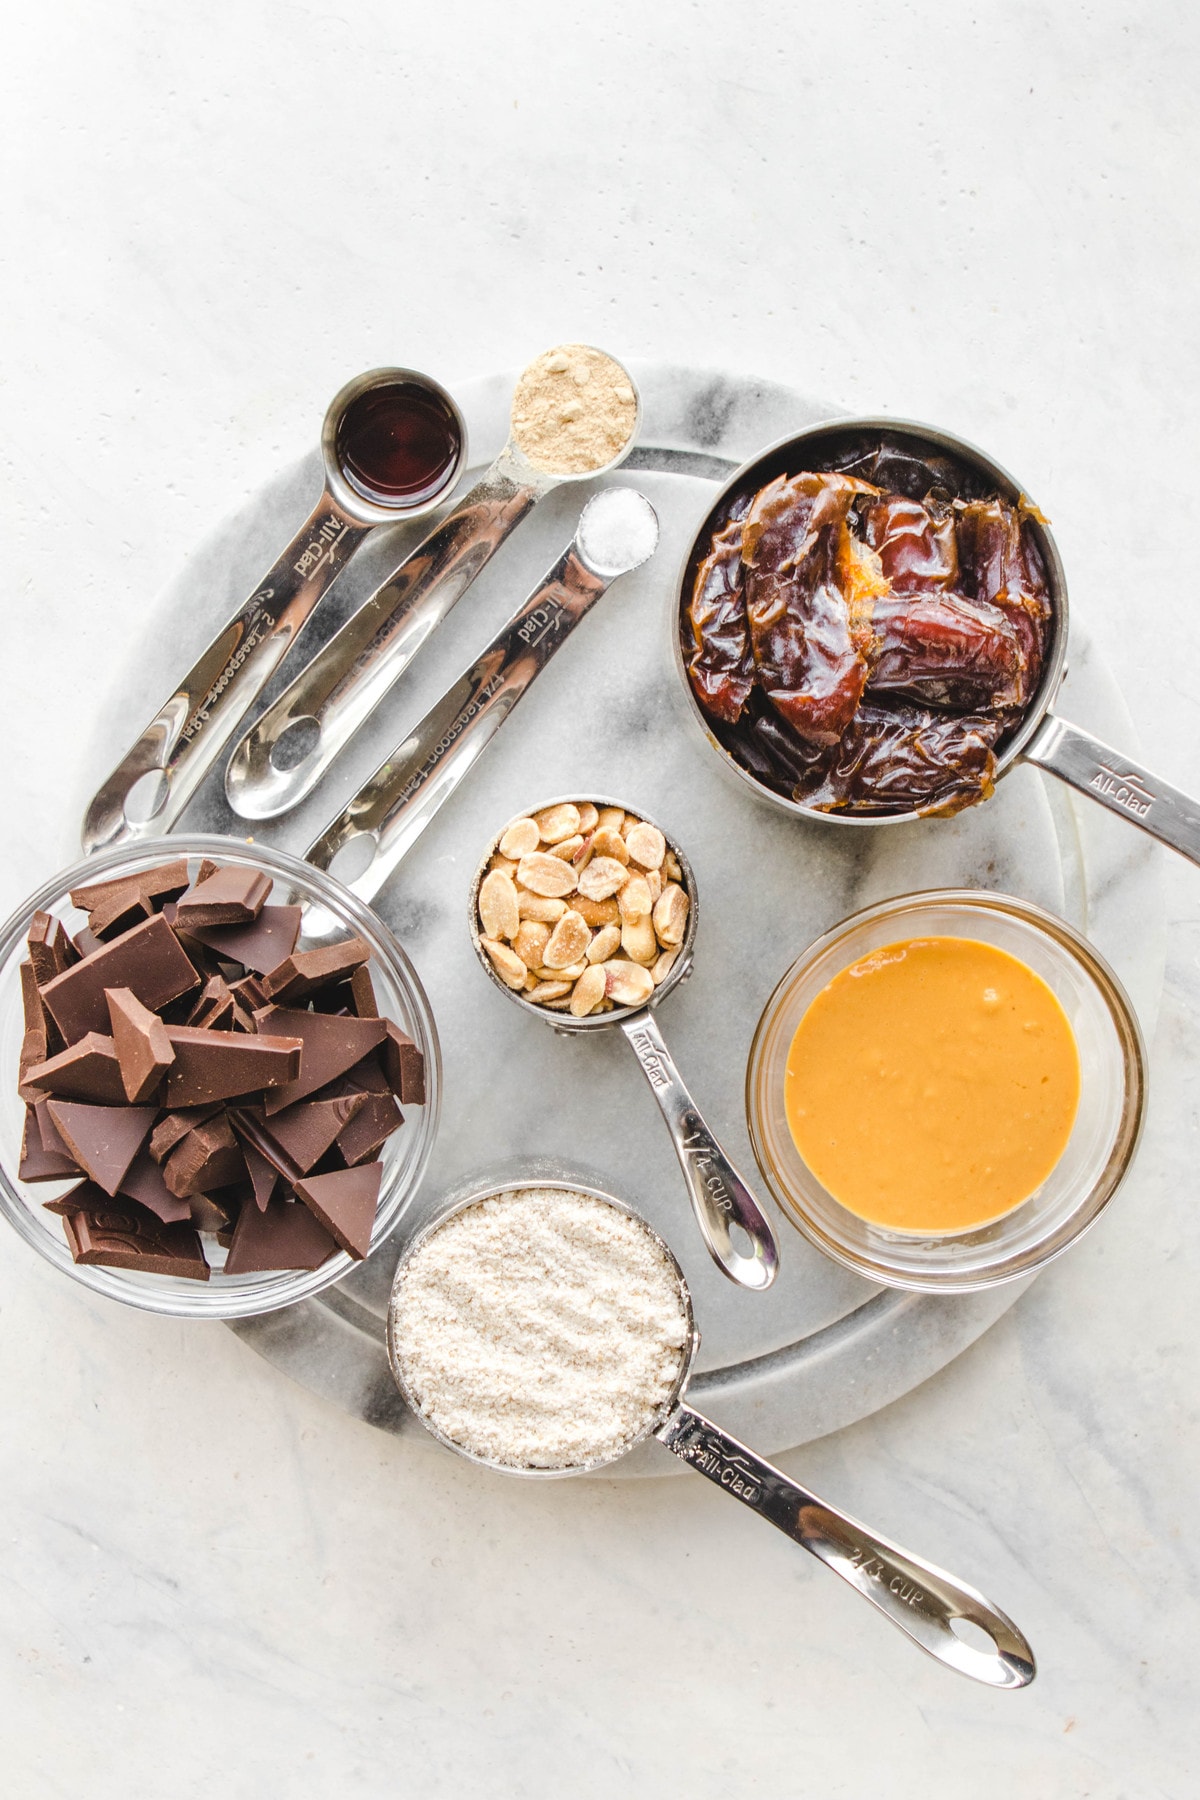
Oh yeah, and did I mention you only need 6 plant based ingredients to make these gems? (Well, 7 if you want to get fancy and add in the Maca Powder for extra caramel-y flavor, but they are still delish without). This recipe also only requires about20 minutes of work on your end, and if you use Chocolate that’s sweetened with Coconut Sugar (like I did), they are also refined sugar free!
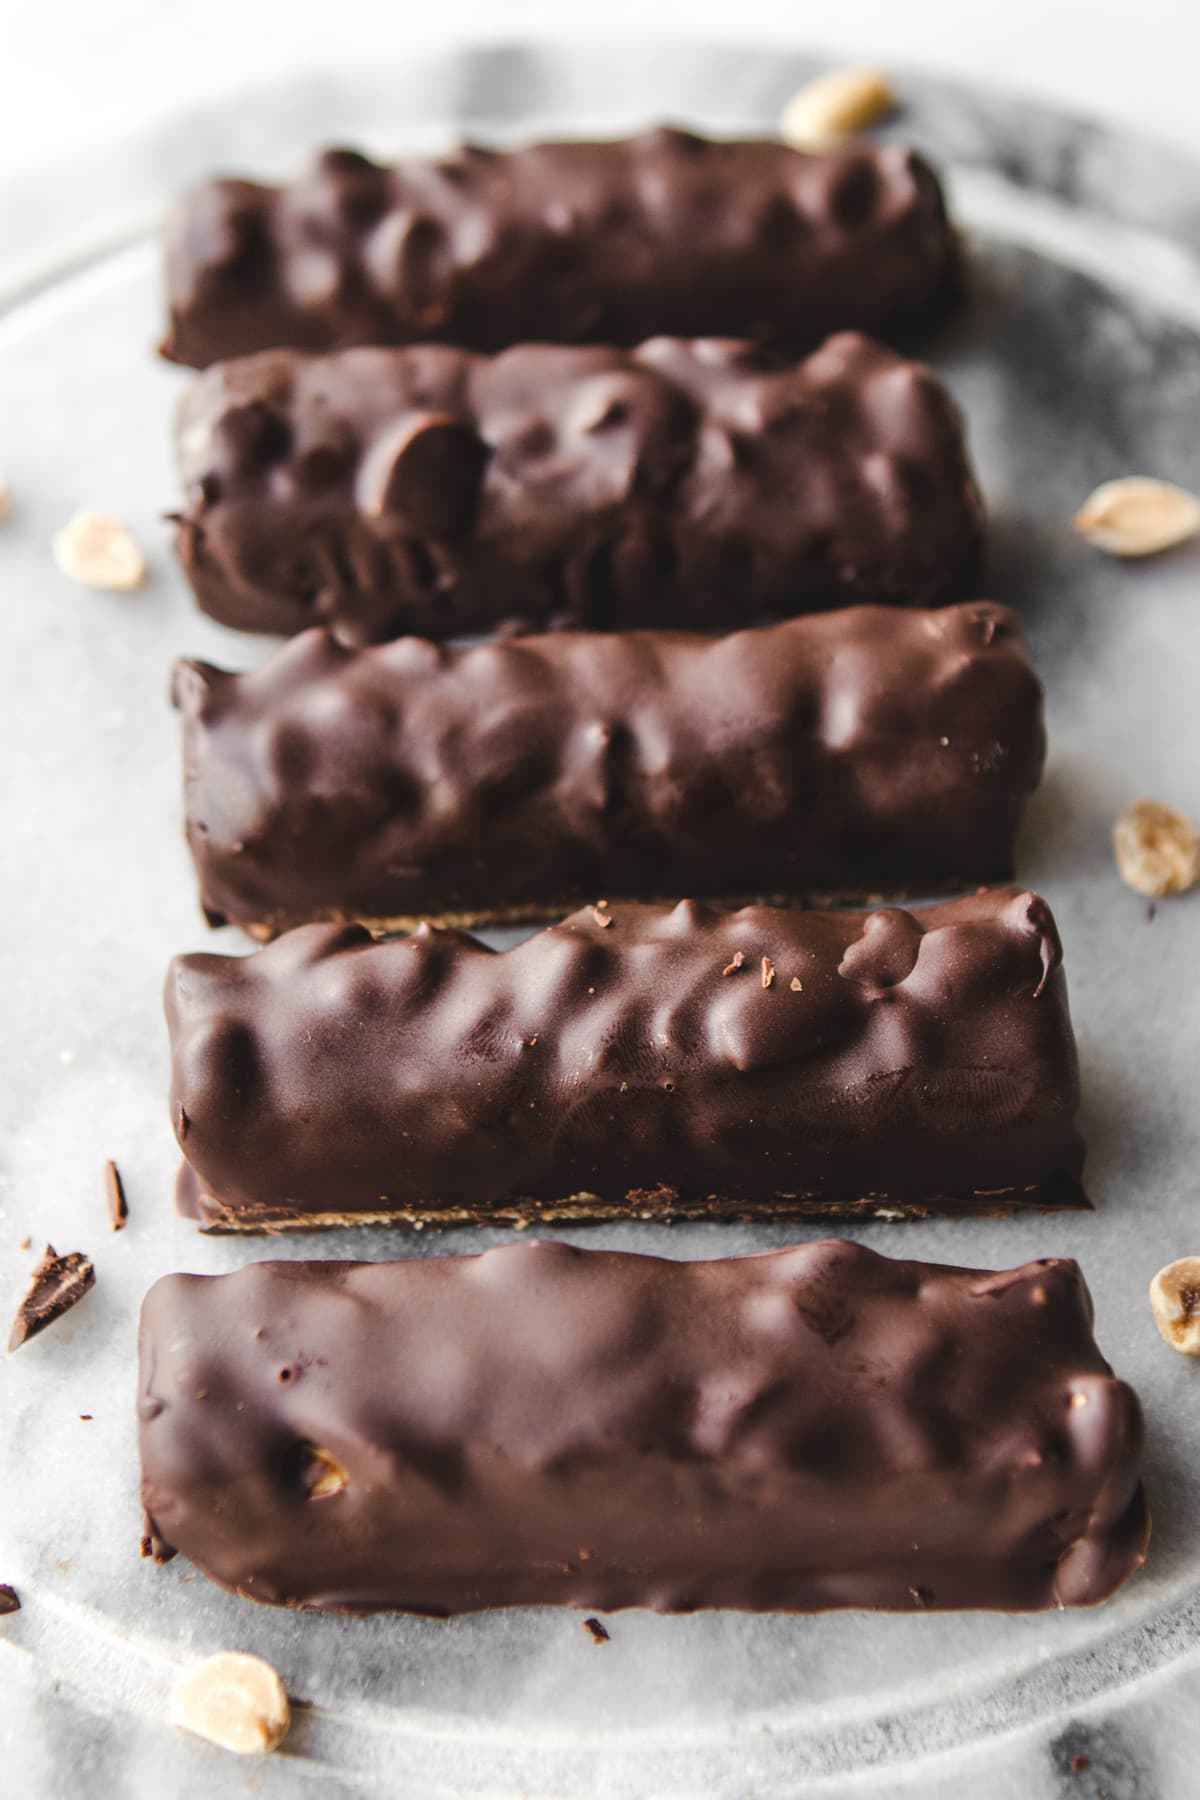
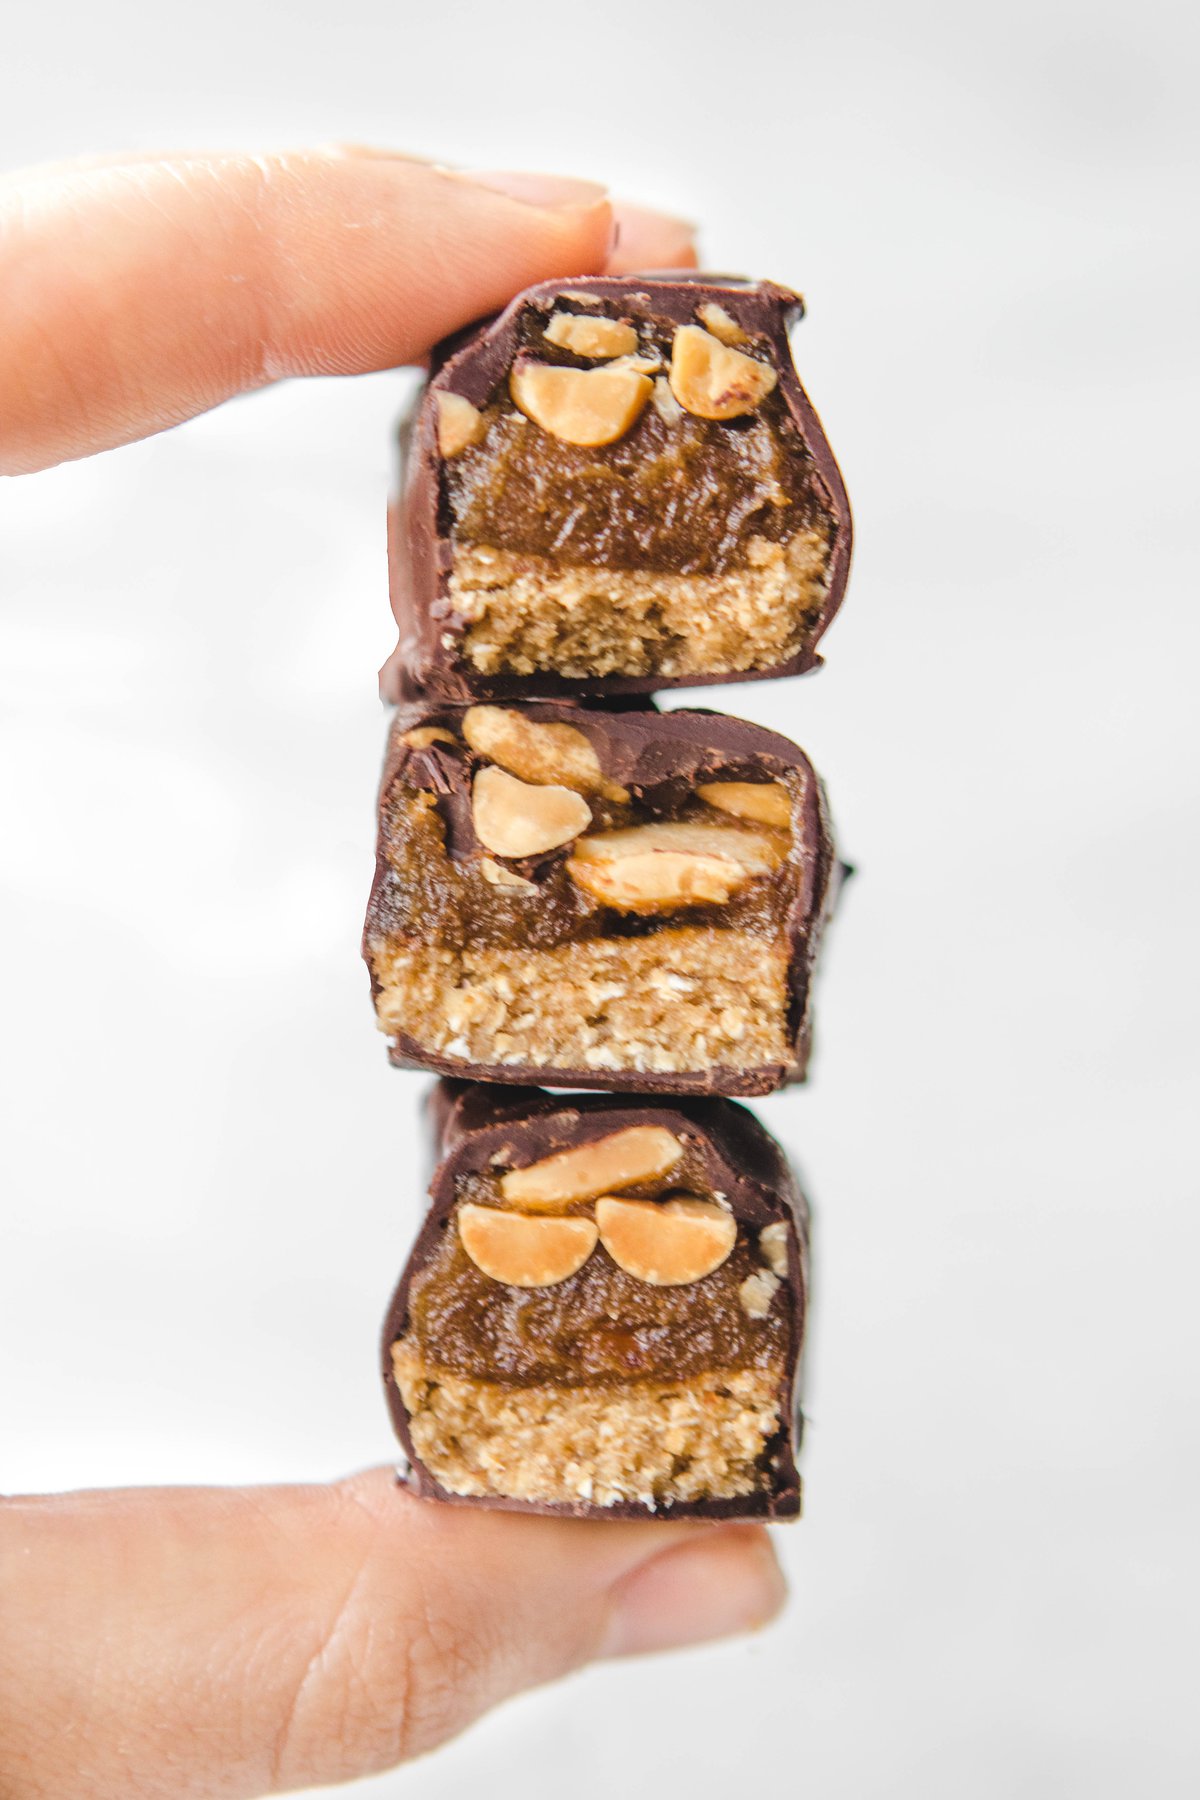
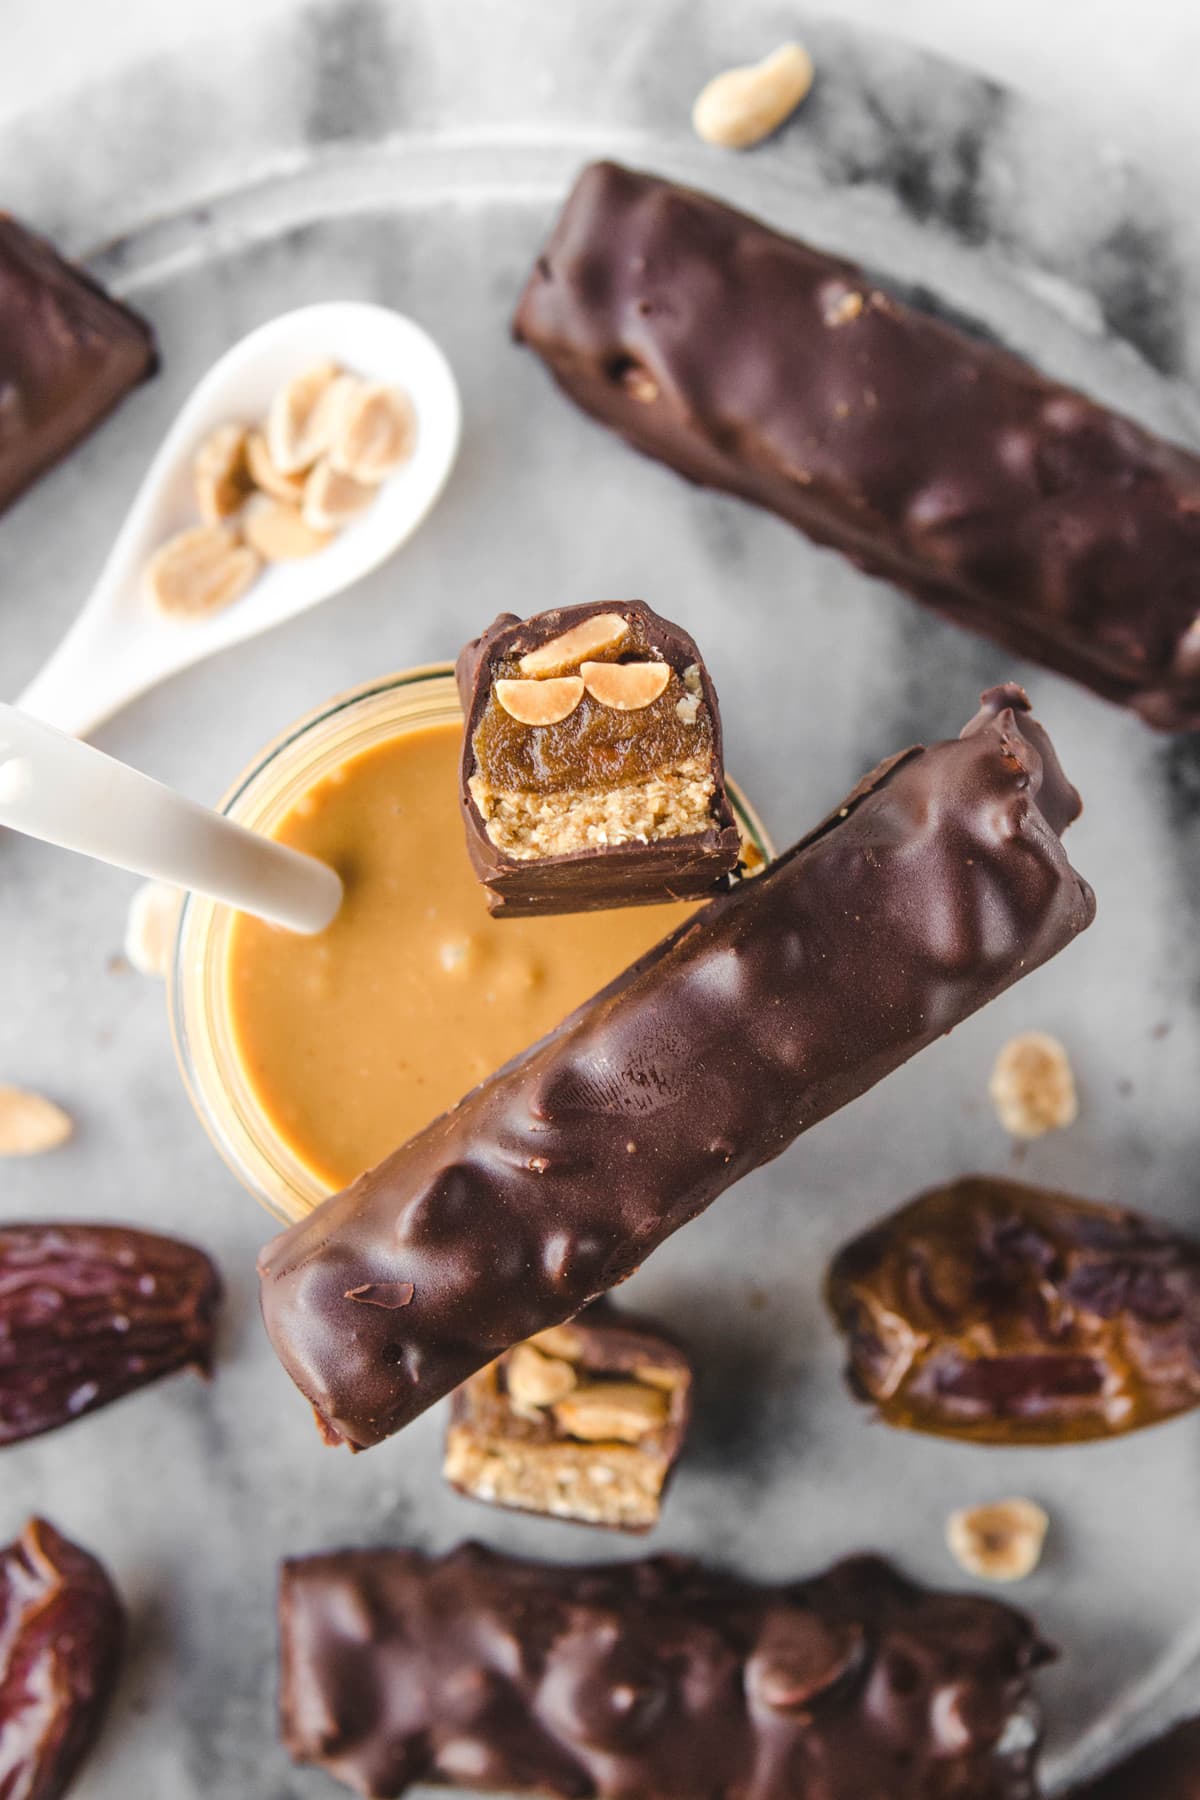
Just look at those perfectly enrobed, Chocolatey bars with peaks and valleys of Peanuts. I mean, c’mon! You can’t tell me your mouth isn’t watering right now. And don’t even get me started on that cross-section…

My only regret about this recipe is that I did not make it sooner. Snickers Bars were my favorite candy as a teen, and I will admit that I missed them a little when I went vegan. But I don’t have to worry about that any more — now that I know how easy these are to make, and how healthy they are too, they may or may not become a regular occurrence 

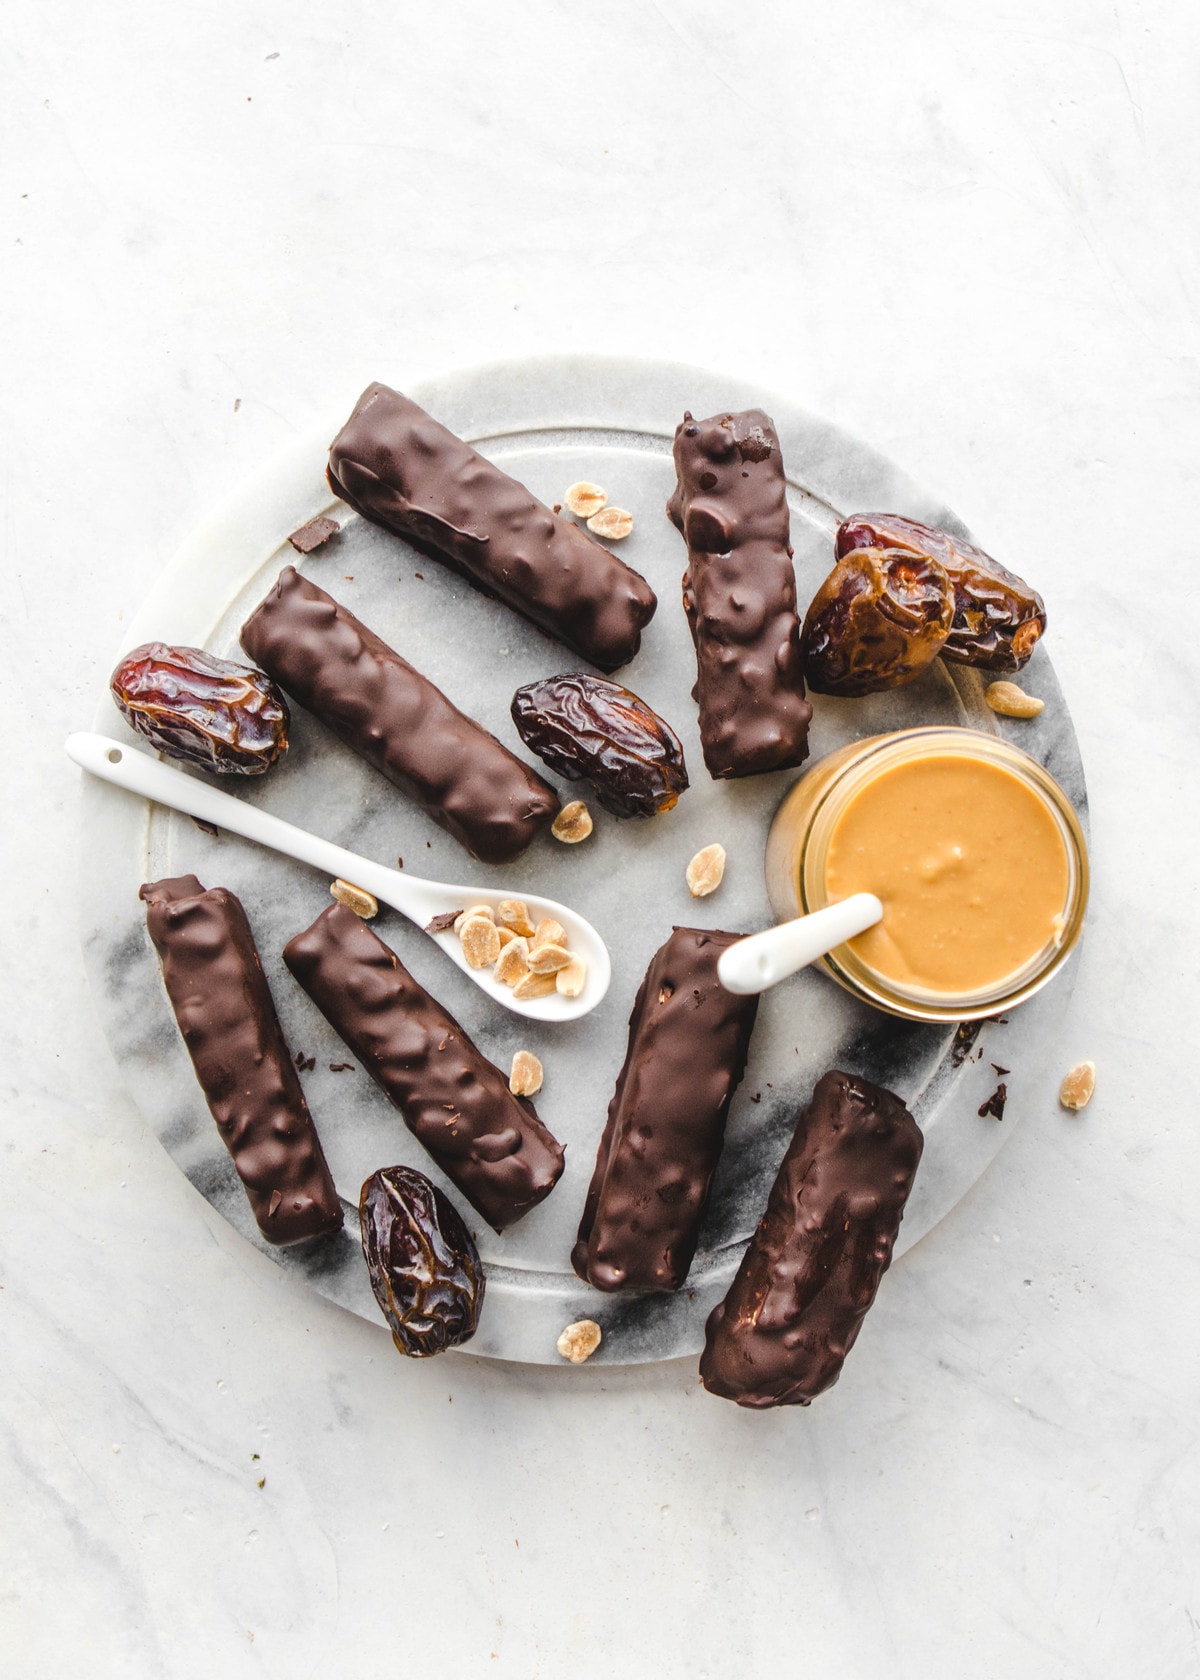
Honestly, I think anyone will enjoy these Healthy Vegan Snickers – kid, adult, vegan, omnivore, and probably pets too (if they didn’t have chocolate, which is bad for them. DO NOT feed them these bars!). They are addicting in the best way possible, and I hope you try them out soon. Leave a comment on this post if you end up loving them as much as I do!
A Few Final Thoughts:
- If you cannot eat peanuts due to an allergy or preference, you can substitute the PB with any nut or seed butter of choice – same goes for the whole nuts in the bars. Obviously the final result will taste different, but still be delicious! I would recommend Cashew or Almond Butter.
- It can be a little tricky to coat these bars evenly in chocolate if you use your hands. For best results, I recommend melting your chocolate in a bowl with a wide base (so the bar can completely sit on the bottom) and using two forks to rotate / dunk the Snickers.
- These bars are actually fine at room temperature and will not melt, but I would recommend storing them in the fridge or freezer so they last longer. If you store them in the freezer, let them defrost for a few minutes before serving.
INGREDIENTS
Caramel Layer:
- 1 packed cup Medjool Dates
- 2 tbsp Peanut Butter
- 1 tsp Vanilla Extract
- 1 tsp Maca Powder (Optional)
- ¼ tsp Salt
INGREDIENTS
Caramel Layer:
- 1 packed cup Medjool Dates
- 2 tbsp Peanut Butter
- 1 tsp Vanilla Extract
- 1 tsp Maca Powder (Optional)
- ¼ tsp Salt
INSTRUCTIONS
- Remove the pits from the Medjool Dates and pack them (really pack them!) into 1 cup. Transfer the Dates to a larger bowl and cover with hot water. Soak the Dates for 10 minutes (or just cover the Dates in water and microwave for 60-80 seconds if you want to be efficient).
- If you do not have Oat Flour, make some by blending a scant ⅔ cup of Quick or Rolled Oats in a Blender for 45-60 seconds until smooth and fluffy.
- Drain any excess liquid off of the Medjool Dates (they should be relatively moist, but not dripping) and add them to a food processor or high speed blender with the remaining ingredients for the Caramel. Process until thick and smooth, scraping the sides of the device if necessary.
- Remove the Date “Caramel” from the food processor. Add the Oat Flour to the food processor (no need to rinse) with ¼ cup of the Date Caramel and process until well incorporated. This should form a slightly sticky “dough” that will hold together when you pinch it.
- Firmly and evenly press the Oat Flour Nougat into a small and narrow container (see notes).
- Use a spatula to spread the remaining Date Caramel evenly over the Nougat, then sprinkle the Peanut Pieces over the Caramel. Use your fingers to press the Peanuts into the Caramel layer, so they stick.
- Place this in the freezer for 60-90 minutes, until firm.
- Remove the frozen “filling” from it’s container, then use a sharp knife to cut it into bar-sized pieces. Return these to the freezer while you melt your chocolate.
- Melt your Chocolate using either a double boiler or the microwave. If you choose to use the microwave, place your Chocolate pieces in a wide bowl (so the candy bars will fit along the base) and microwave at 30 seconds intervals, stirring in between. Once the Chocolate is 75% melted, stop microwaving and stir the mixture with a spatula until completely melted.
- Moving quickly, place 1 candy bar into the bowl of melted Chocolate. Use two forks to “flip” the bar, until it is coated in chocolate on all sides. Remove the ar from the melted Chocolate, letting any excess chocolate drip off. Then, place it onto a plate lined with parchment paper. Repeat with the remaining bars.
- Place the bars in the fridge for 5-10 minutes, to allow the Chocolate to harden.
- Serve and enjoy! Bars are best stored in the fridge and will last there for up to 10 days. You can also place them in the freezer, where they will last for up to one month – just let the bars thaw for 5 or so minutes before enjoying.
MORE RECIPES @