Mmmmm, s’mores.
Hot summer days just need s’mores to be part of them at some point, don’t you think? Of course, proper s’mores would be made over a fire, but a campfire is not always available – so s’mores bars it is.
These sweet cookie bars were absolutely delicious, and disappeared in no time. I even liked them, and I typically don’t like marshmallows all that much….except roasted over a fire in traditional s’mores form – I’ll eat those any day. Besides that though, marshmallows aren’t really my thing.

And I ate my fair share of these s’mores bars, I will admit.
So they’re good.
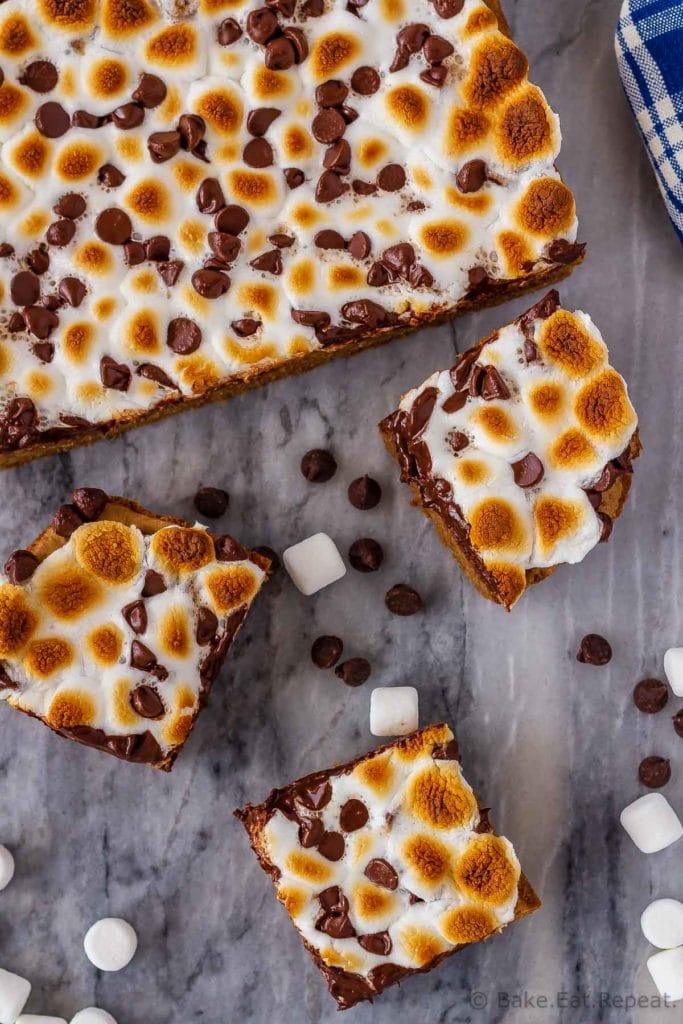
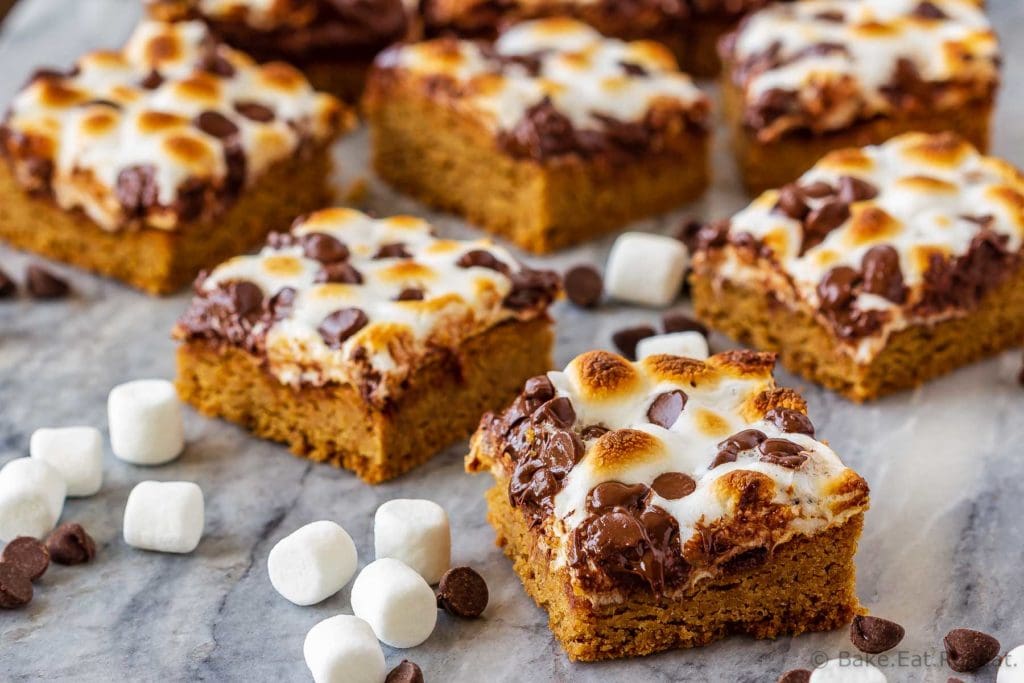
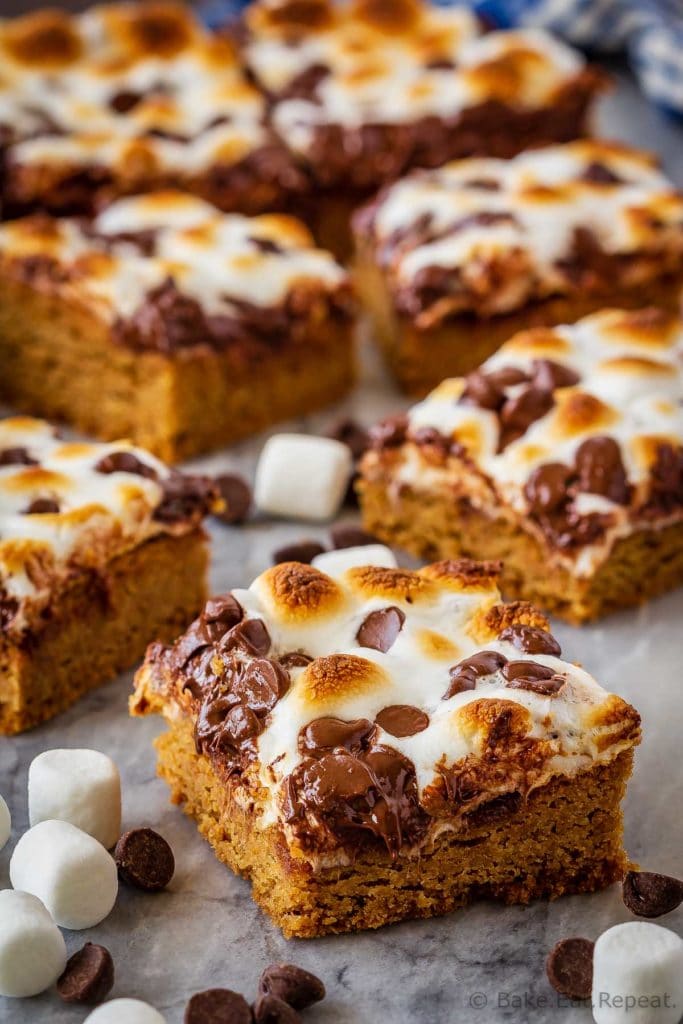
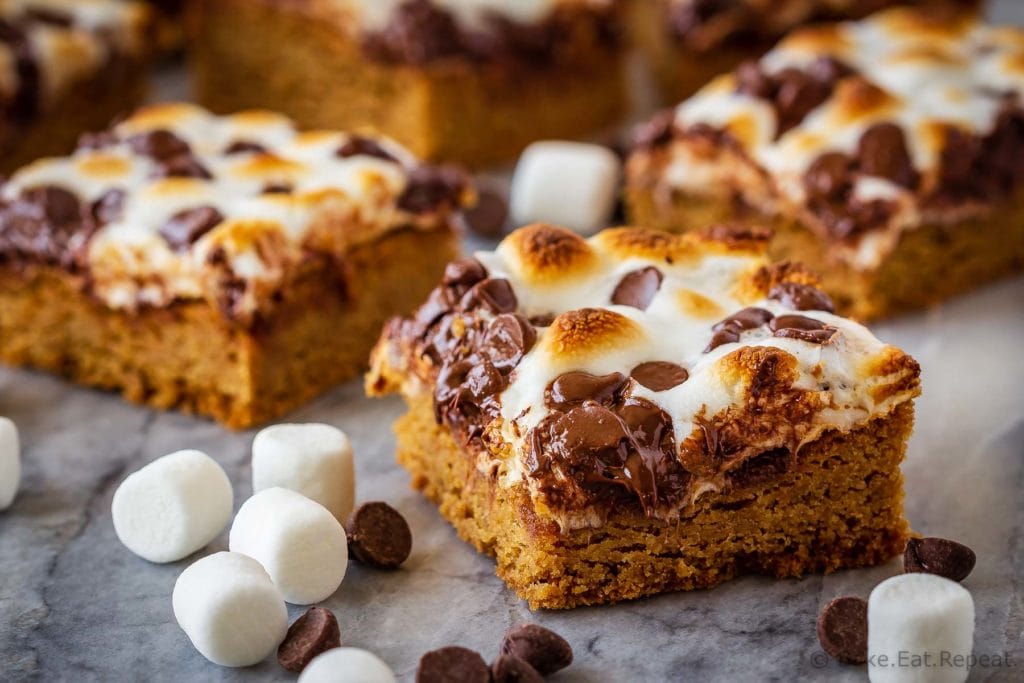
A chewy cookie base with graham cracker crumbs in it, topped with chocolate chips and toasted marshmallows, these s’mores bars are super quick and easy to make. You don’t even need any special equipment for these – they are mixed up by hand, no mixers needed at all. They’re almost as fast as roasting that marshmallow over a fire for a traditional s’more!

The only downside is you kind of have to wait until these cool down to cut them into bars or you’ll have a gooey, marshmallowy mess on your hands. These bars cut much easier once they’ve cooled completely.
Although if you have a seven year old, you’ll likely still have a gooey, marshmallowy mess to deal with when you hand these out for dessert. Totally worth it though.

Tips for perfect S’mores Bars:
- Line your baking pan with foil or parchment paper and lightly spray it with non-stick spray before adding the cookie dough to the pan – this way you can lift the baked bars out of the pan and cut them without the pan getting in the way.
- Let the s’mores bars cool completely before cutting them or the marshmallows will be way too melty to be able to cut them easily. I find the easiest way to cut the bars is out of the pan on a cutting board, with a serrated knife that is cleaned off with hot water and dried in between cuts – takes a little longer, but makes way less mess!
- I like to brown the butter (melt the butter on the stove, whisking constantly and keep cooking until you see brown bits forming on the bottom of the pan, then remove from the heat) to use in this recipe as it’s made with melted butter, but you don’t need to, the bars are good either way. The browned butter just adds a little more flavour.
- This recipe can be doubled and baked in a 9×13 inch pan if you like – the baking time is the same.
- Here are a few more great bar recipes for you: The Best Nanaimo Bars, Apple Pie Bars, and Oatmeal Raisin Chocolate Chip Bars
Ingredients
3/4 cup unsalted butter, melted and cooled
1/4 teaspoon salt
1/4 teaspoon baking soda
1/2 cup brown sugar, lightly packed
1/4 cup granulated sugar
1 large egg
1/2 teaspoon vanilla
3/4 cup all purpose flour
1/2 cup graham cracker crumbs
3/4 cup semi-sweet chocolate chips
1 cup mini marshmallows
Directions
- Preheat the oven to 325 degrees F. Line an 8x8 inch baking pan with aluminum foil and lightly spray it with non-stick cooking spray.
- In a large bowl, whisk together the melted butter, salt and baking soda. Add the brown sugar and granulated sugar and mix well. Whisk in the egg and vanilla. Add the flour and graham cracker crumbs and stir until just combined. Press the dough into the prepared baking pan and bake for 22-24 minutes.
- Take the pan from the oven, sprinkle the chocolate chips and mini marshmallows over top of the warm cookie bars and return to the oven. Turn the broiler on low and broil for 2-3 minutes, watching carefully, until the marshmallows are golden brown.
- Remove from the oven and allow the bars to cool completely before lifting them out of the pan with the foil sling and slicing them into bars. Store the bars in an airtight container at room temperature for up to five days.
MORE RECIPES @ bake-eat-repeat.com
